
While many of your listings will be populated by businesses signing up and managing their listings on their own, you may need to add and edit listings manually from time to time, especially when you are just getting started and populating your directory. Here's how:
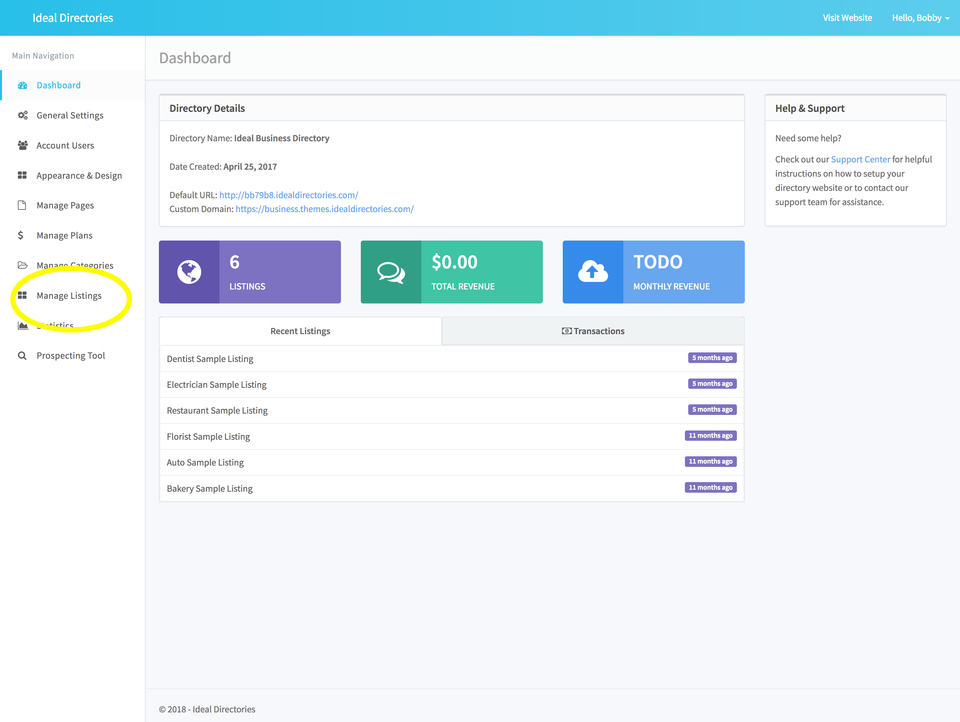
STEP 1 - Click on Manage Listings in the Dashboard
From your dashboard, click Manage Listings on the left tool bar.
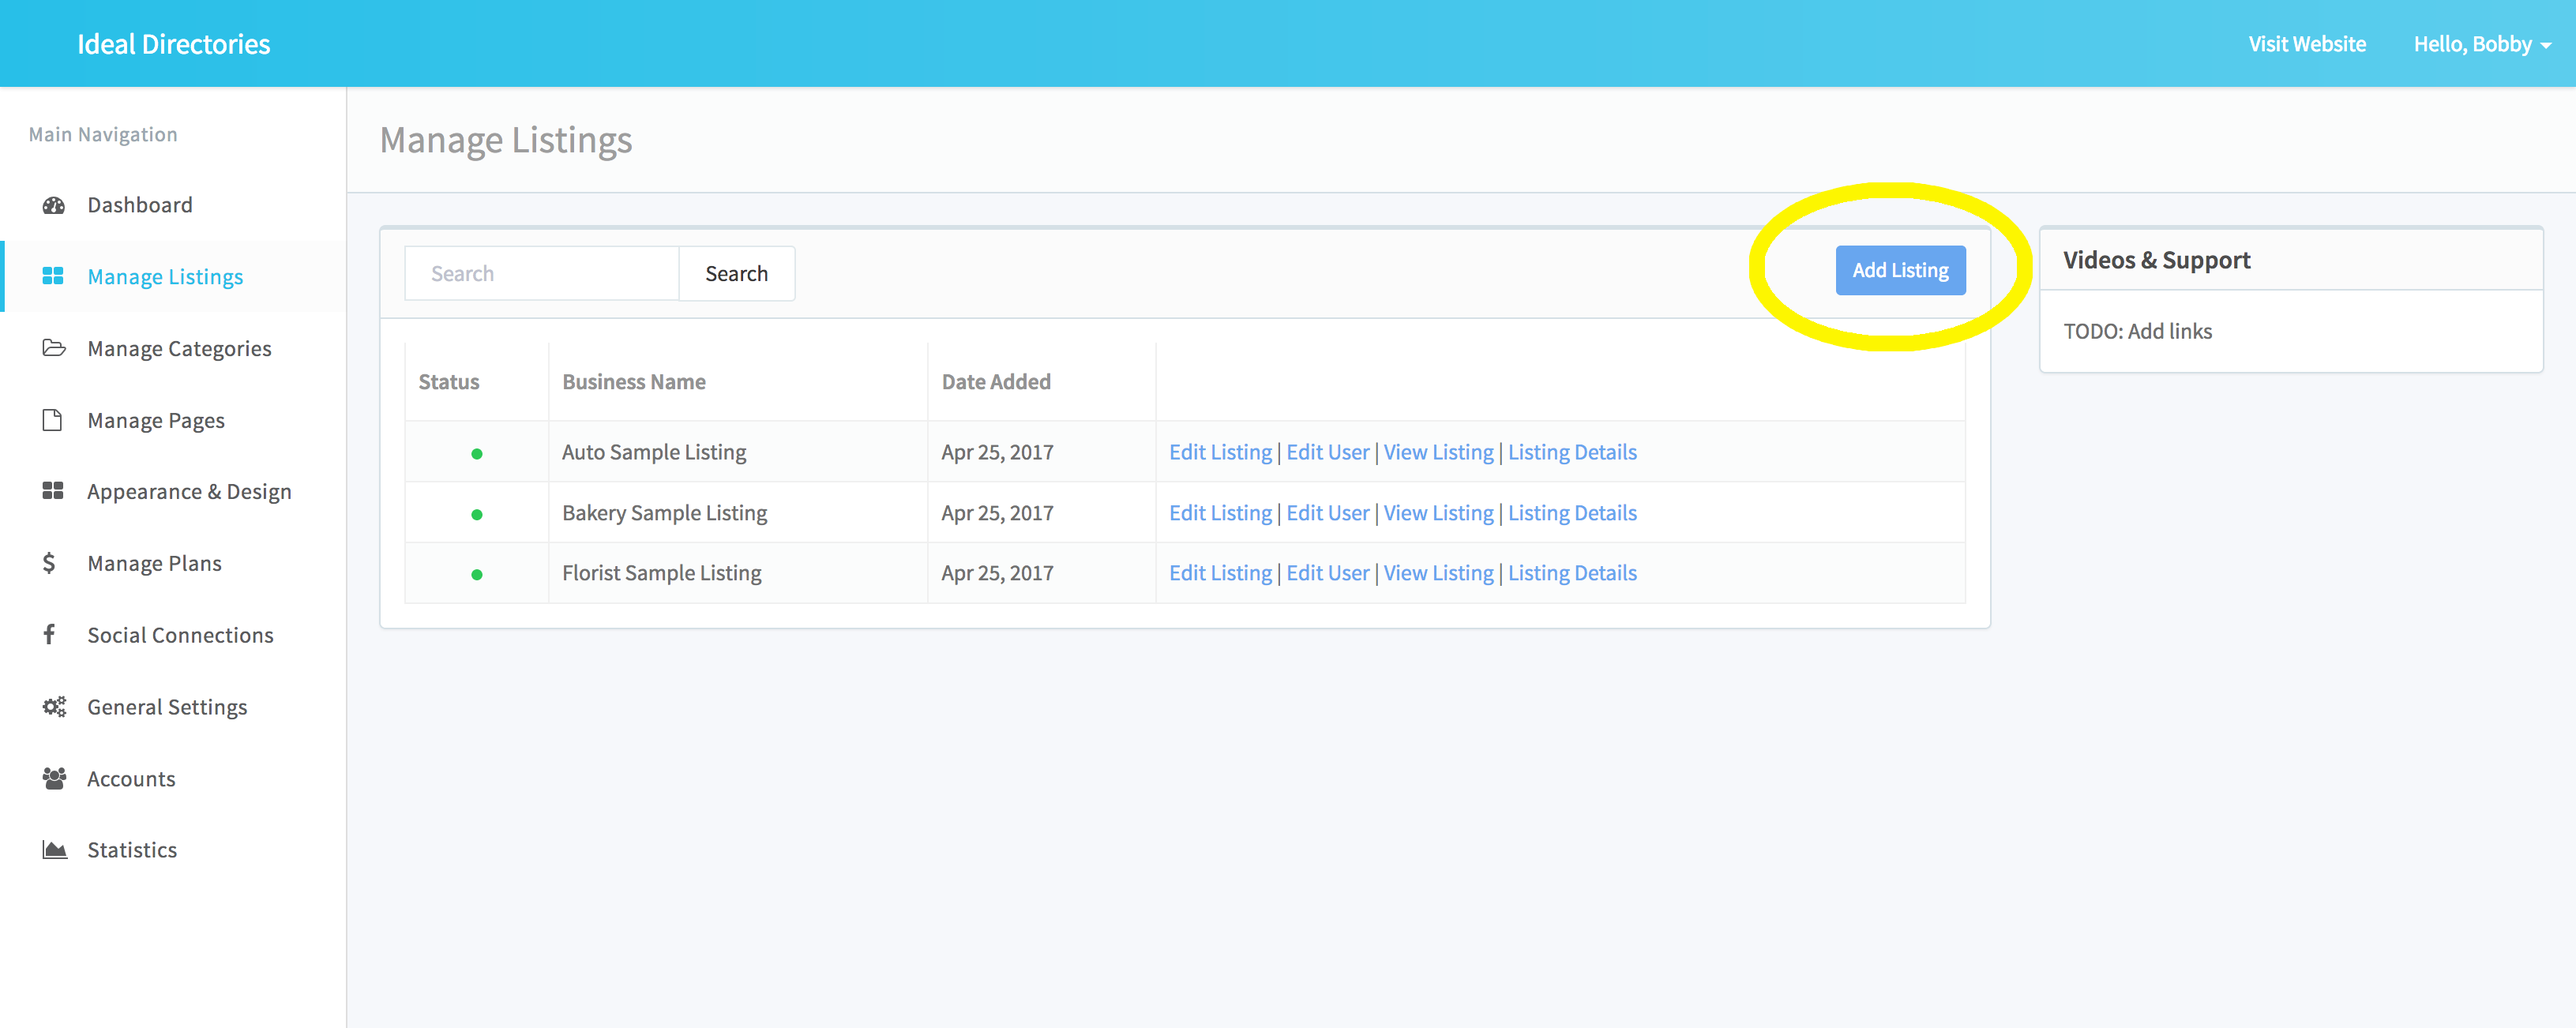
STEP 2 - Click on "Add Listing" to add a new listing
If you are looking to add a new listing to your directory website, simply click on "Add Listing."
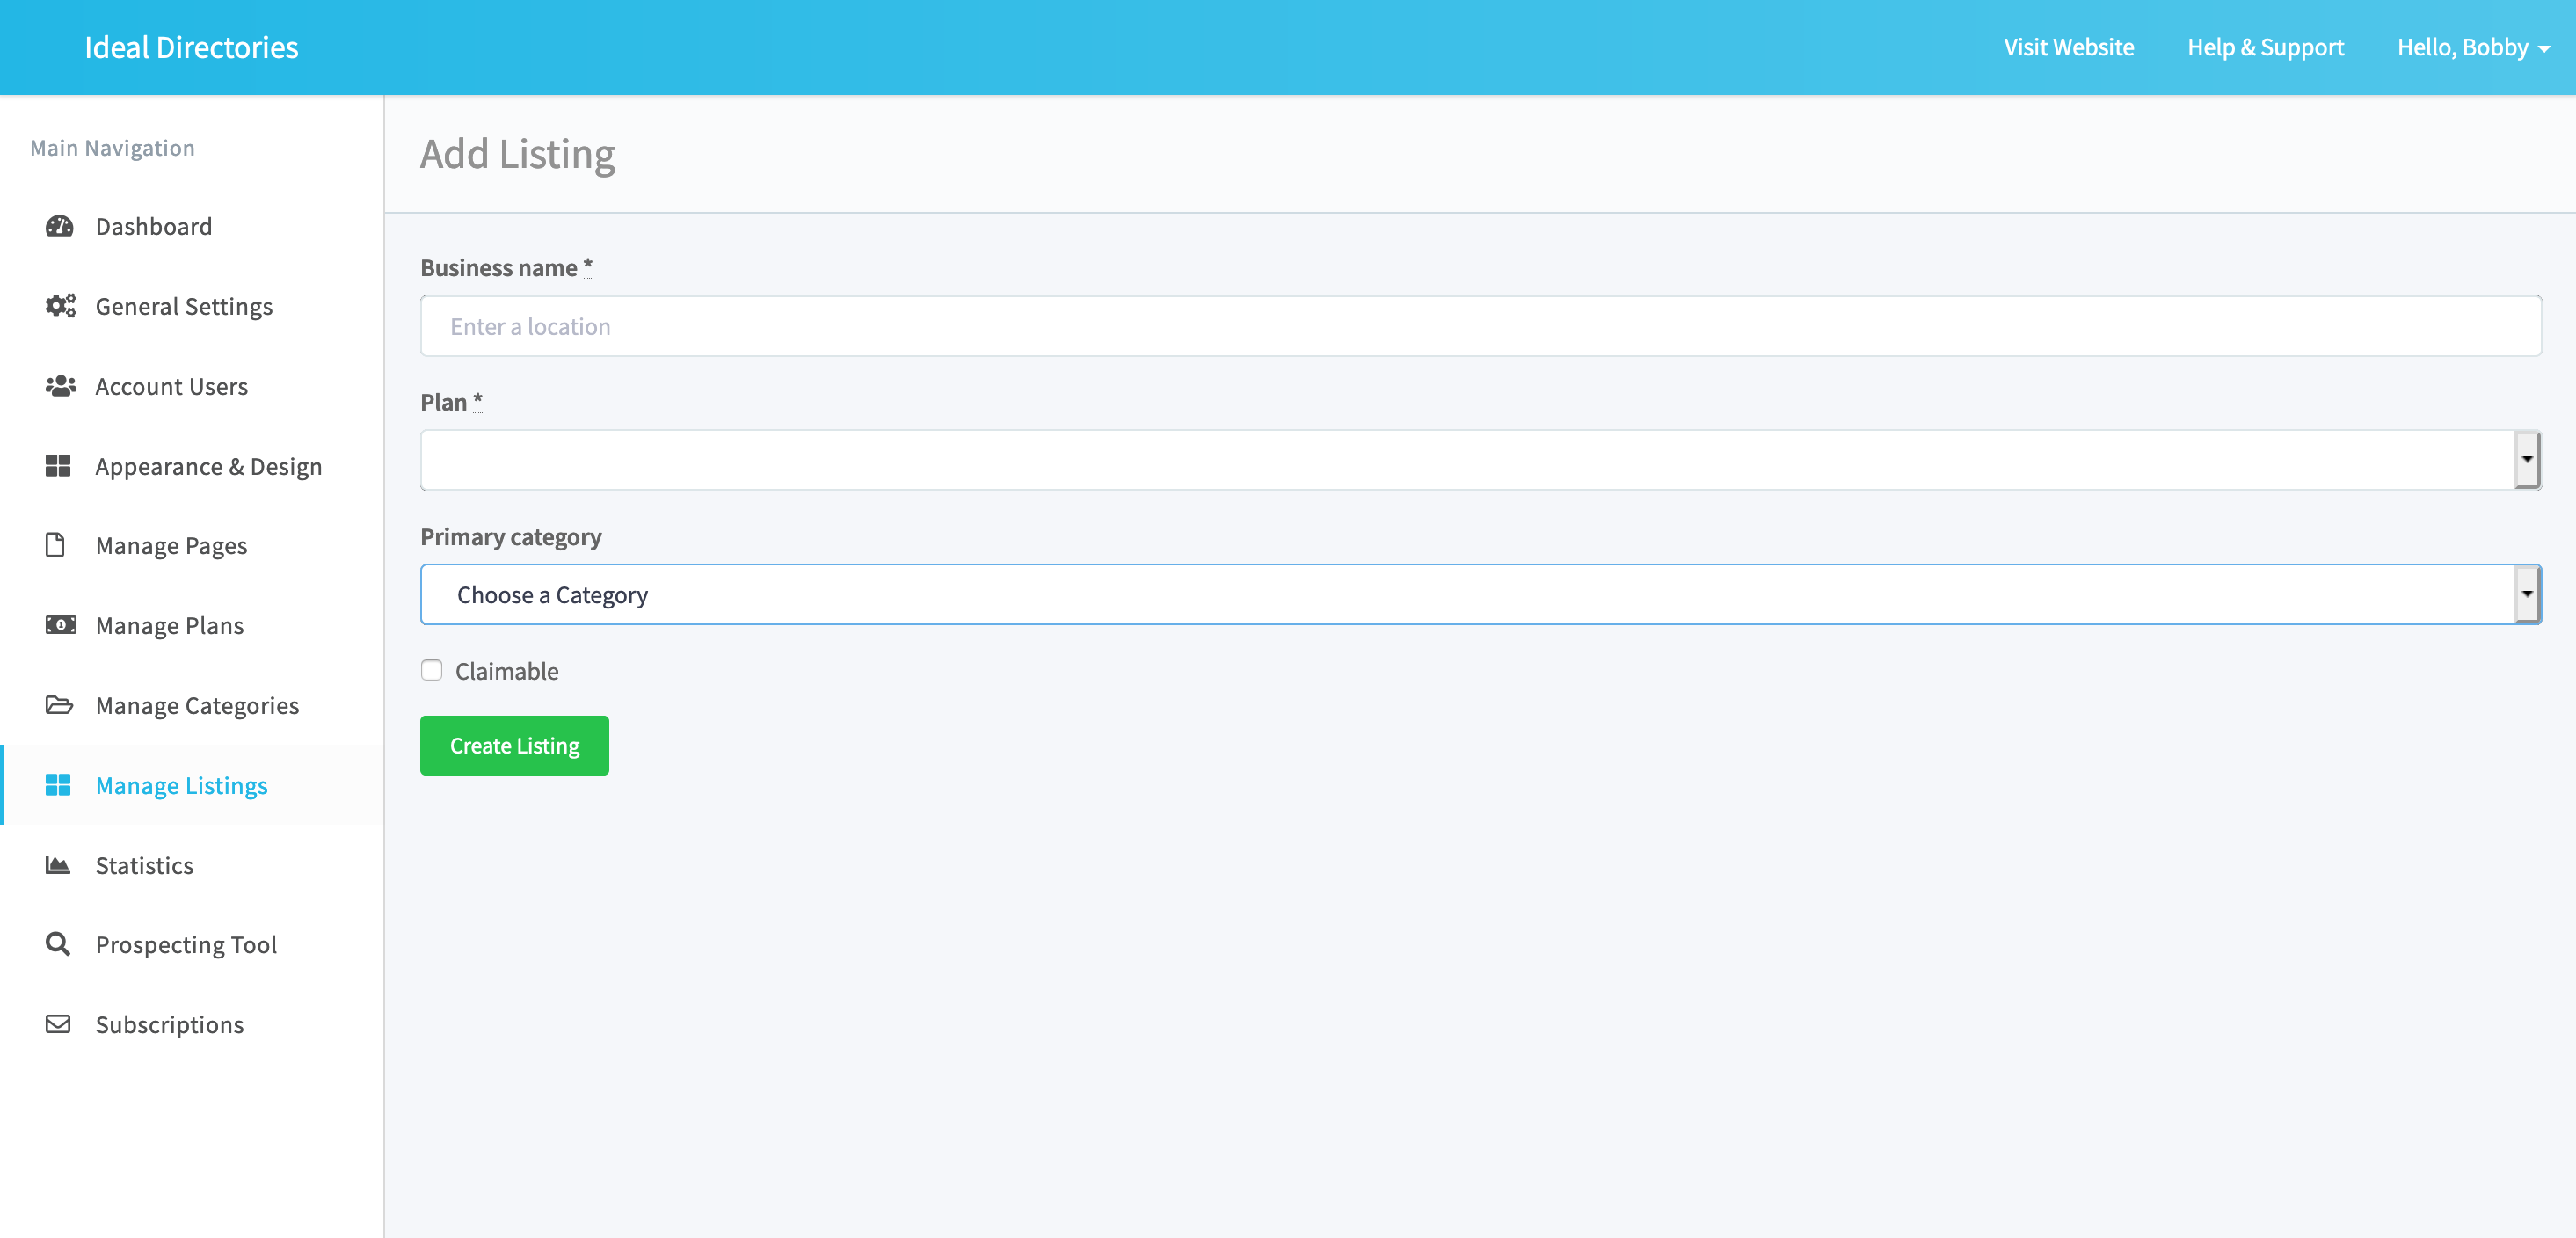
STEP 3 - Create new listing
Enter the name of the Business and choose the plan. You can also assign a Category for the listing and choose to make this listing "Claimable" by the owner.
Don't worry - you can always make changes to a listing after it's created.
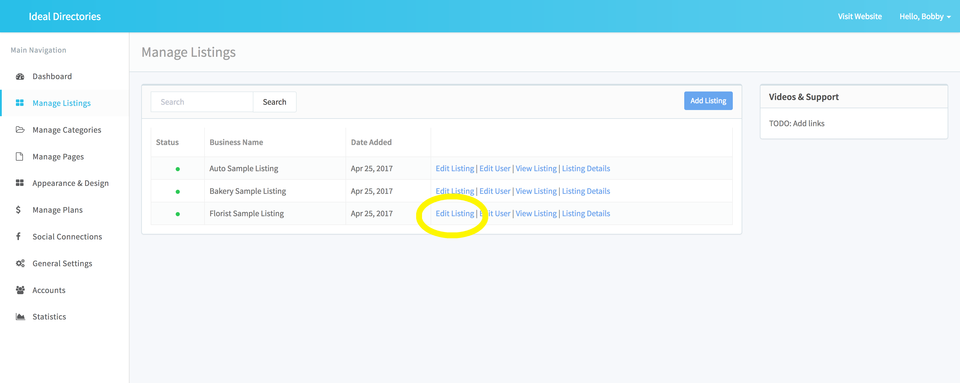
STEP 4 - Click on "Edit Listing"
Click on "Edit Listing" next to the listing name to add content to the listing and its profile page.
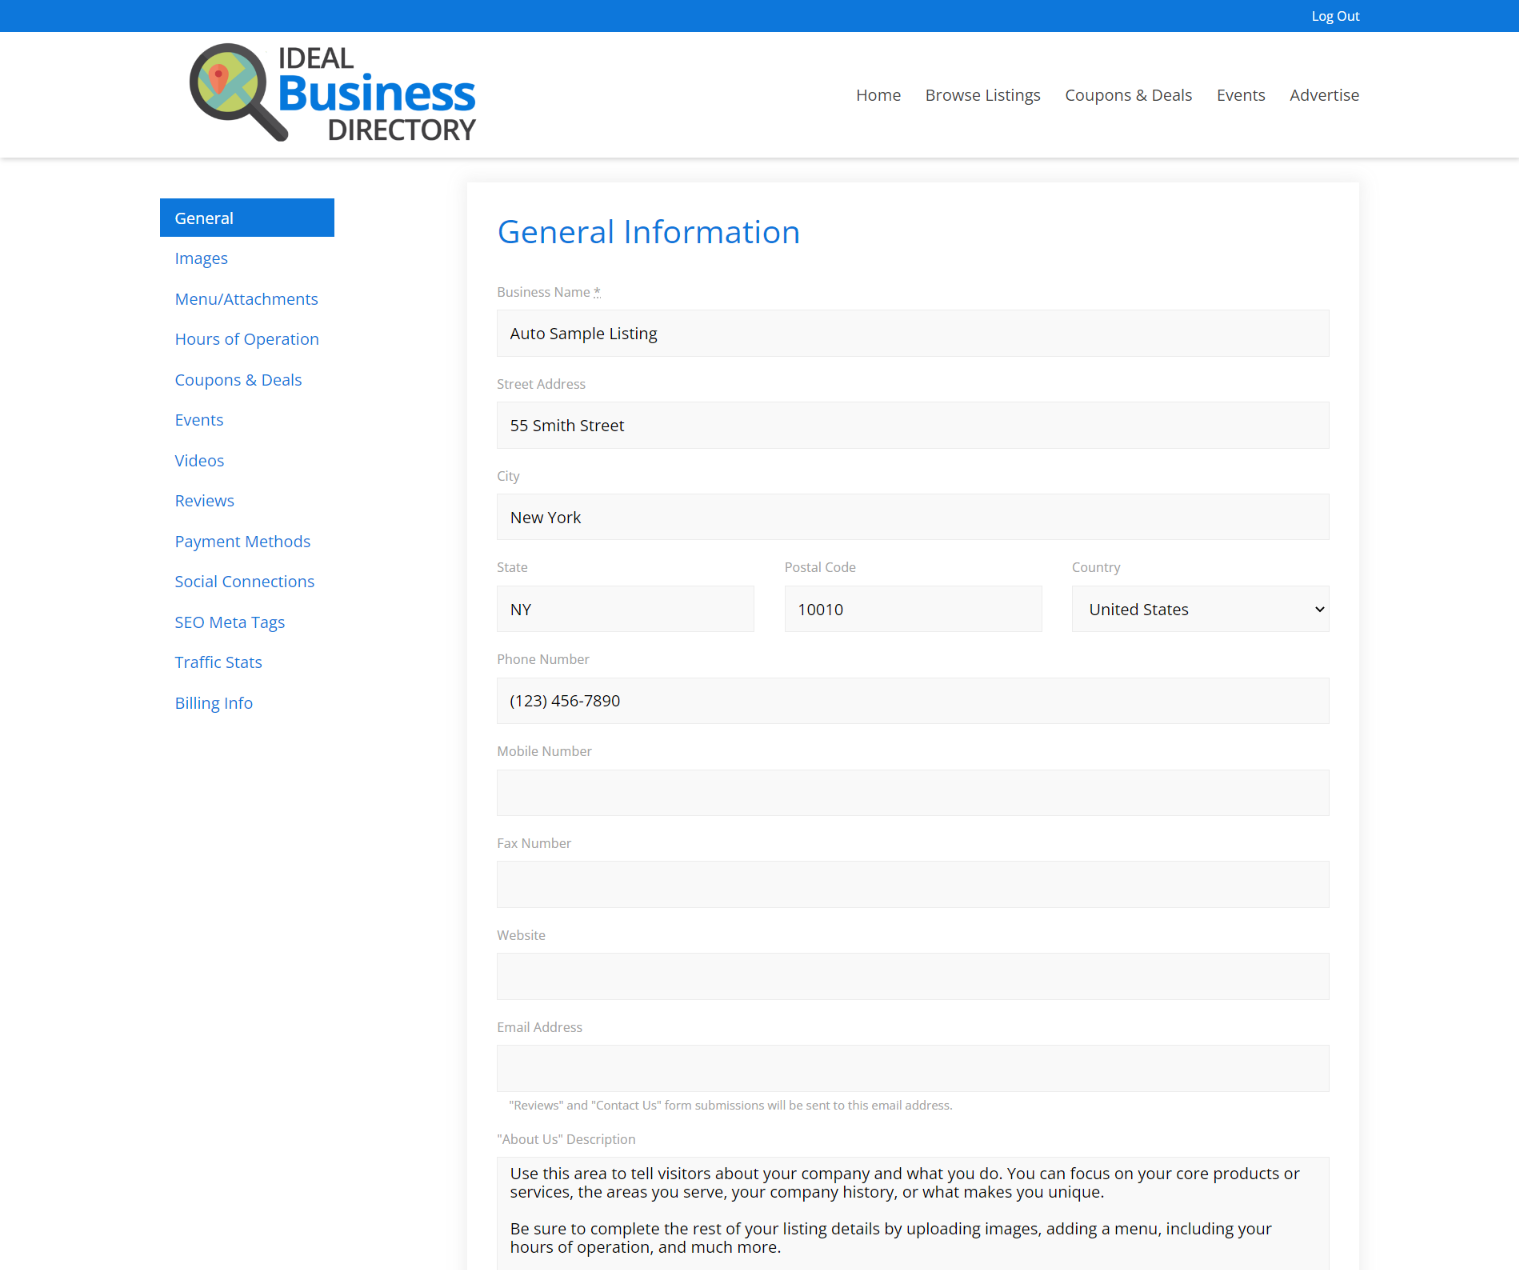
STEP 5 - Complete the listing profile page
Here you can add basic info, images, hours of operation, videos, testimonials and more.
Note About Primary Images:
A listing's Primary Image is the image that appears on the Homepage, Browse Listings page, and in search results. You can upload images up to 10MB and any dimensions. If you'd like the image to completely fill the content area and make sure none of the image gets cropped, then you need to make sure they are all the same dimensions: 760 pixels wide x 520 pixels tall (1.5: 1 ratio).
Comments
0 comments
Article is closed for comments.