
As an admin, you have the option to change the Plan assigned to a particular business listing on your directory website.
These are the instructions for changing the Plan for a free or unpaid business listing. If you are looking to change the Plan for a paid listing for an active customer, click here.
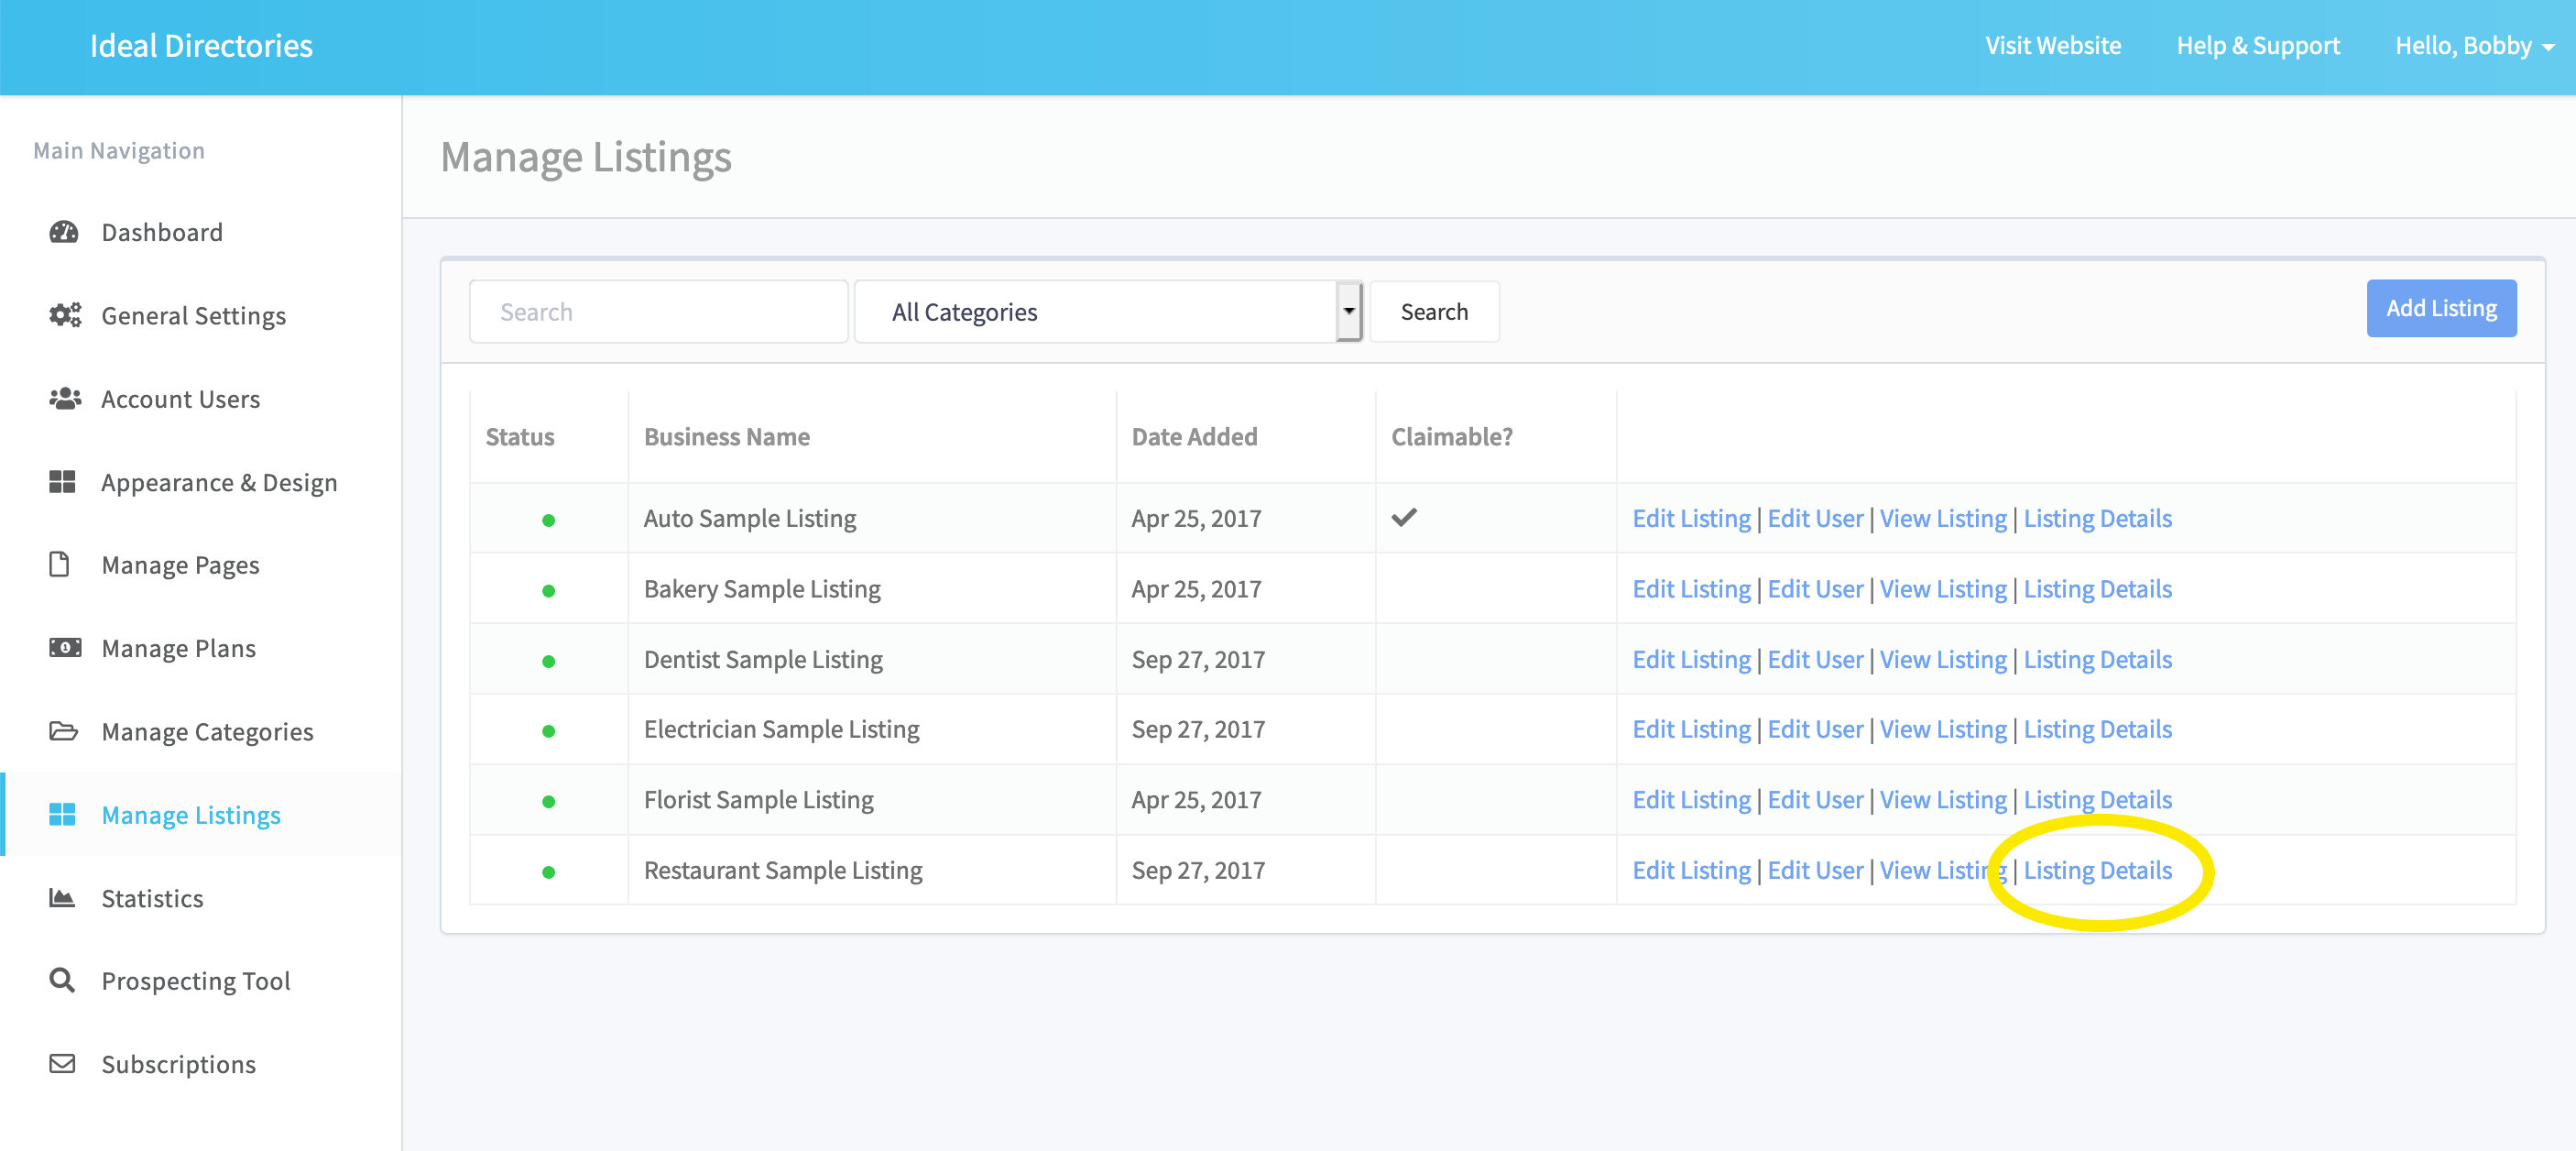
STEP 1 - Click on Manage Listings in the Dashboard
Once logged in to your dashboard, you will see an option for Manage Listings on the left tool bar. Click on it.

STEP 2 - Click on "Listing Details"
Click on Listing Details next to the listing name you would like to change the Plan for.
STEP 3 - Click "Change Plan"
The section labeled "Plan" shows the current Plan assigned to this Listing. Click Change Plan to edit it.

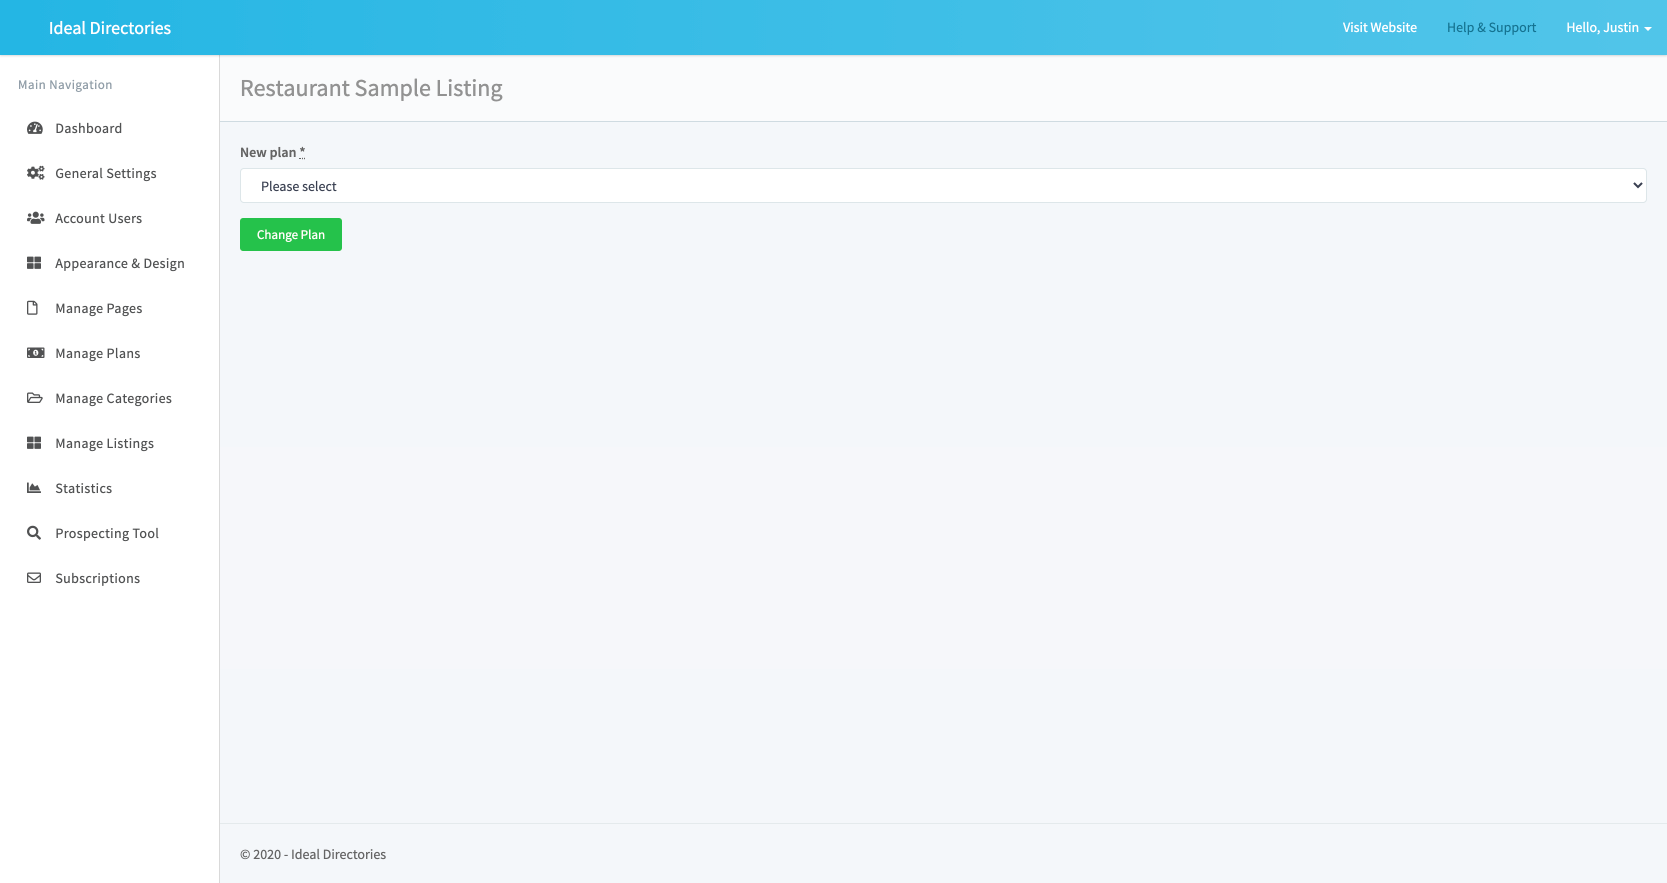
STEP 4 - Select a New Plan
The dropdown list on this page shows the other Plans to which you can assign this listing. Select the one you want, and click the Change Plan button to save your changes.
Note: this feature can also be used to update the Listing to the newest version of the Plan that the Listing is currently on. For example: if the Listing is on the "Premium" Plan, and you have recently made a change to the features or pricing of the "Premium" Plan, you'll see "Premium" on this dropdown list. By selecting it, you will now put this Listing on the current version of that Plan.
Comments
0 comments
Article is closed for comments.